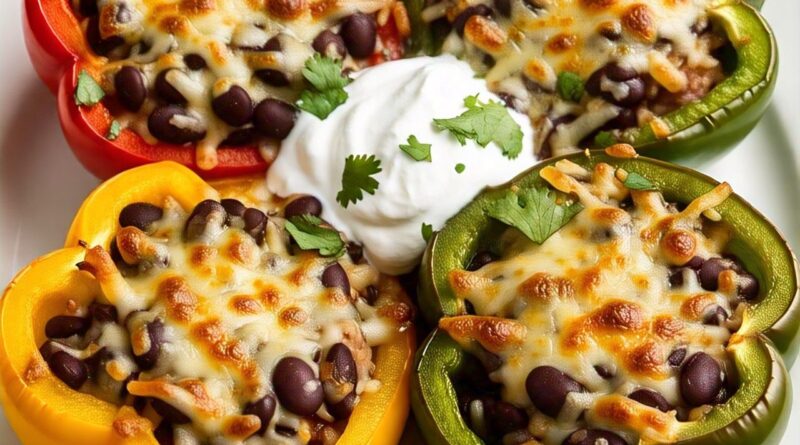
7 Best Vegan Breakfast Recipes
Are you confused and looking for the best vegan breakfast Recipes? You are at the right place. I will share the best vegan recipes with you in this blog post.
Here:-
- Rainbow Buddha Bowl
- Creamy Cashew Alfredo Pasta
- Hearty Vegan Mushroom Stroganoff
- Zesty Lemon Garlic Quinoa Salad
- Savory Stuffed Bell Peppers with Rice and Beans
- Cucumber and Hummus Wrap
- Mango avocado salad
Are you also a bachelor and don’t have much time to make a healthy and nutritious breakfast? Chill, we have your back. Presenting you the top 7 Easy vegan recipes so that you don’t have to spend hours in the kitchen especially in the morning to make yourself a healthy and nutritious breakfast. Not only that, everyone can make these recipes, working adults, kids, and homemakers, these are for everyone.
So let’s dive into it and see the nutritional benefits of each one by one along with the detailed recipe.
1. Rainbow Buddha Bowl
The Rainbow Buddha Bowl is a colorful, nutrient-dense dish that combines fresh vegetables, grains, and proteins in one satisfying meal. This Rainbow bowl is called so due to its delicious taste and is packed with vitamins, minerals, fiber, and healthy fats, typically making into a balanced diet. Whether you’re new to cooking or a seasoned foodie, this bowl is a great choice for a healthy, easy-to-prepare meal.

Ingredients (Serves 2)
- Base (Grains): 1 cup cooked quinoa or brown rice
- Proteins: 1 cup roasted chickpeas (or boiled chickpeas)
- Vegetables:
- 1 cup shredded purple cabbage
- 1 cup grated carrots
- 1 cup fresh spinach or mixed greens
- ½ cup cherry tomatoes, halved
- ½ cucumber, sliced
- Healthy Fats: 1 ripe avocado, sliced
- Toppings: 1-2 tbsp sesame seeds or pumpkin seeds
- Dressing:
- 2 tbsp tahini (sesame paste)
- Juice of 1 lemon
- 1 tsp olive oil
- 1 tsp maple syrup (optional for sweetness)
- Salt and pepper to taste
Step-by-Step Recipe
Step 1: Prepare the Base
- Cook 1 cup of quinoa or brown rice (whatever you have with yourself at home).
- Rinse the quinoa under water before cooking to remove any bitterness. Add 2B water for B amount of quinoa.
- Simmer for 10-12 minutes until soft and fluffy.
Step 2: Roast the Chickpeas
- Preheat your oven to 400°F (200°C).
- In a bowl, mix a single cup of chickpeas with 1 tsp olive oil, a pinch of salt, and pepper.
- Spread on a baking tray and roast for 15 minutes until slightly crispy. (If you don’t have an oven, you can lightly sauté them in a pan for 5-8 minutes).
Step 3: Chop the Vegetables
- Prepare your vegetables: shred the cabbage, grate the carrots, slice the cucumber, cut the tomatoes, and wash the spinach.
Step 4: Make the Dressing
- In a small bowl, whisk together:
- 2 tbsp tahini
- Juice of 1 lemon
- 1 tsp olive oil
- 1 tsp maple syrup (optional)
- Salt and pepper
- Add a bit of water if needed to thin the dressing.
Step 5: Assemble the Bowl
- Start with a layer of cooked quinoa at the bottom of the bowl.
- Arrange all the vegetables (cabbage, carrots, cucumber, tomatoes, and spinach)
- Add the roasted chickpeas
- Place avocado slices in the center or on the side.
- Sprinkle sesame seeds or pumpkin seeds for crunch.
- Drizzle the creamy tahini dressing.
Step 6: Serve and Enjoy!
- Your Rainbow Buddha Bowl is ready to eat! Mix it all and jump into it.
Nutritional Facts (Per Serving)
- Calories: 400-450 kcal
- Protein: 12-15g
- Carbohydrates: 50g
- Fiber: 10g
- Fats: 15g (mostly healthy fats from avocado and seeds)
- Vitamins: High in Vitamin A, C, and K
- Minerals: Rich in potassium, magnesium, and iron
Benefits of the Rainbow Buddha Bowl
- High in Nutrients
- Great for Digestion
- Perfect for Weight Management
- Heart-Healthy
- Boosts Energy
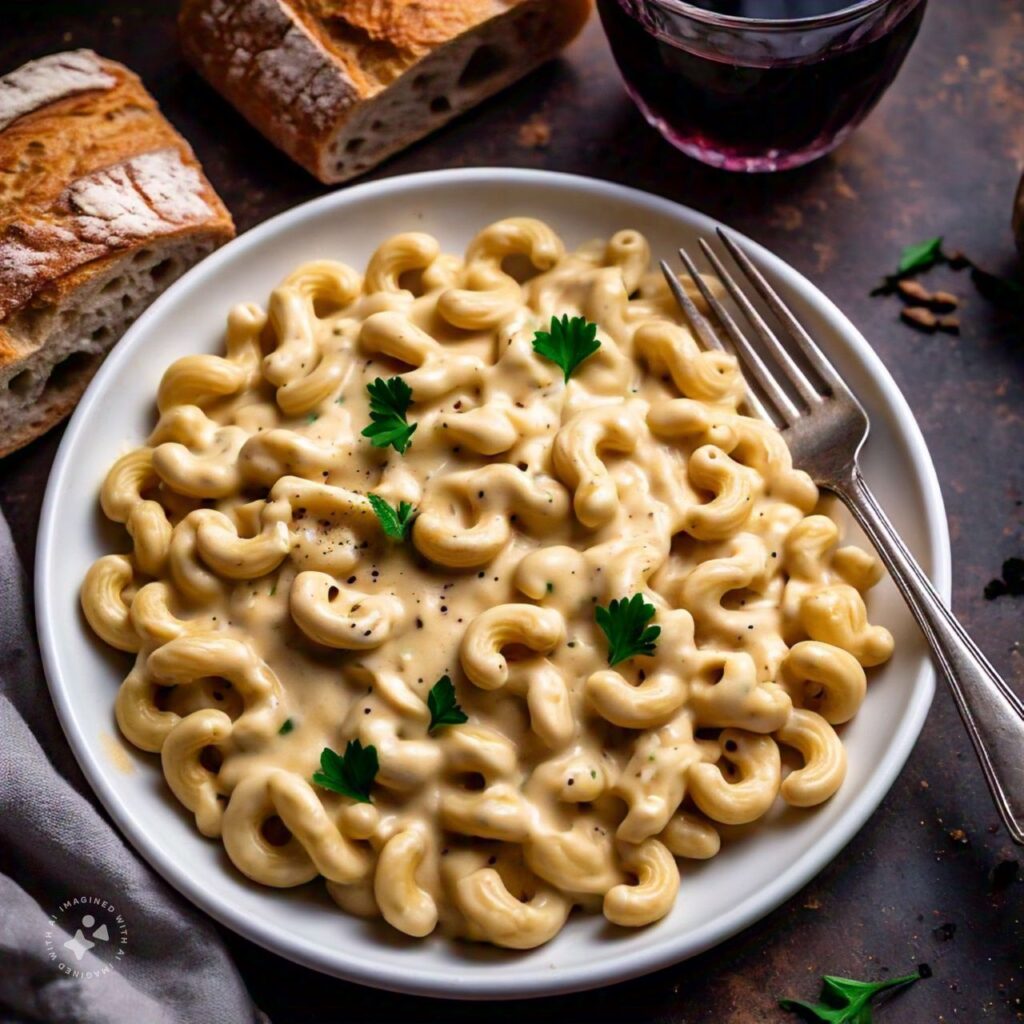
2. Creamy Cashew Alfredo Pasta
The Creamy Cashew Alfredo Pasta is plant-based pasta which is a perfect comfort food that is super easy to make. It’s a great choice for beginners, especially if you’re looking for a creamy pasta dish that’s both satisfying and nutritious. With its velvety sauce and simple ingredients, this recipe will quickly become a favorite for anyone learning to cook!
Ingredients (Serves 2)
- Pasta: 200g of your choice of pasta (spaghetti, penne, or fettuccine)
- For the Cashew Alfredo Sauce:
- 1 cup raw cashews (soaked in water for 30 minutes if not using a high-speed blender)
- 1 cup almond milk or any plant-based milk of your choice
- 2 tbsp olive oil
- 1 garlic clove, minced
- 1 tbsp lemon juice
- 1/2 tsp salt
- 1/4 tsp pepper
- Toppings (Optional):
- Fresh parsley, chopped
Step-by-Step Recipe
Step 1: Cook the Pasta
- Heat a pot of water and add some salt to it. Wait for it to boil.
- Add 200g of pasta and cook for 8-10 minutes.
- Once boiled properly, drain the pasta and keep it aside.
Step 2: Prepare the Cashew Alfredo Sauce
- In a blender, add 1 cup of soaked cashews, 1 cup of almond milk, 2 tbsp nutritional yeast, 2 tbsp olive oil, 1 minced garlic clove, 1 tbsp lemon juice, 1/2 tsp salt, and 1/4 tsp pepper.
- Blend until the sauce is creamy and smooth.
Step 3: Combine the Pasta and Sauce
- Pour the creamy cashew Alfredo sauce into a large pan and heat over medium heat for 2-3 minutes until warmed through.
- Add the cooked pasta to the pan and toss gently to coat the pasta with the creamy sauce.
Step 4: Serve and Garnish
- Plate the pasta in an aesthetic dish and garnish with fresh parsley.
- Serve hot and enjoy your creamy, dairy-free Alfredo pasta!
Nutritional Facts (Per Serving)
- Calories: 450-500 kcal
- Protein: 12-14g
- Carbohydrates: 50-55g
- Fiber: 4g
- Fats: 22g (healthy fats from cashews and olive oil)
- Vitamins & Minerals: Rich in magnesium, Vitamin E, and iron
Benefits of Creamy Cashew Alfredo Pasta
- Dairy-Free
- Rich in Healthy Fats
- Good for Skin
- Satisfying and Filling
- Easy to Make
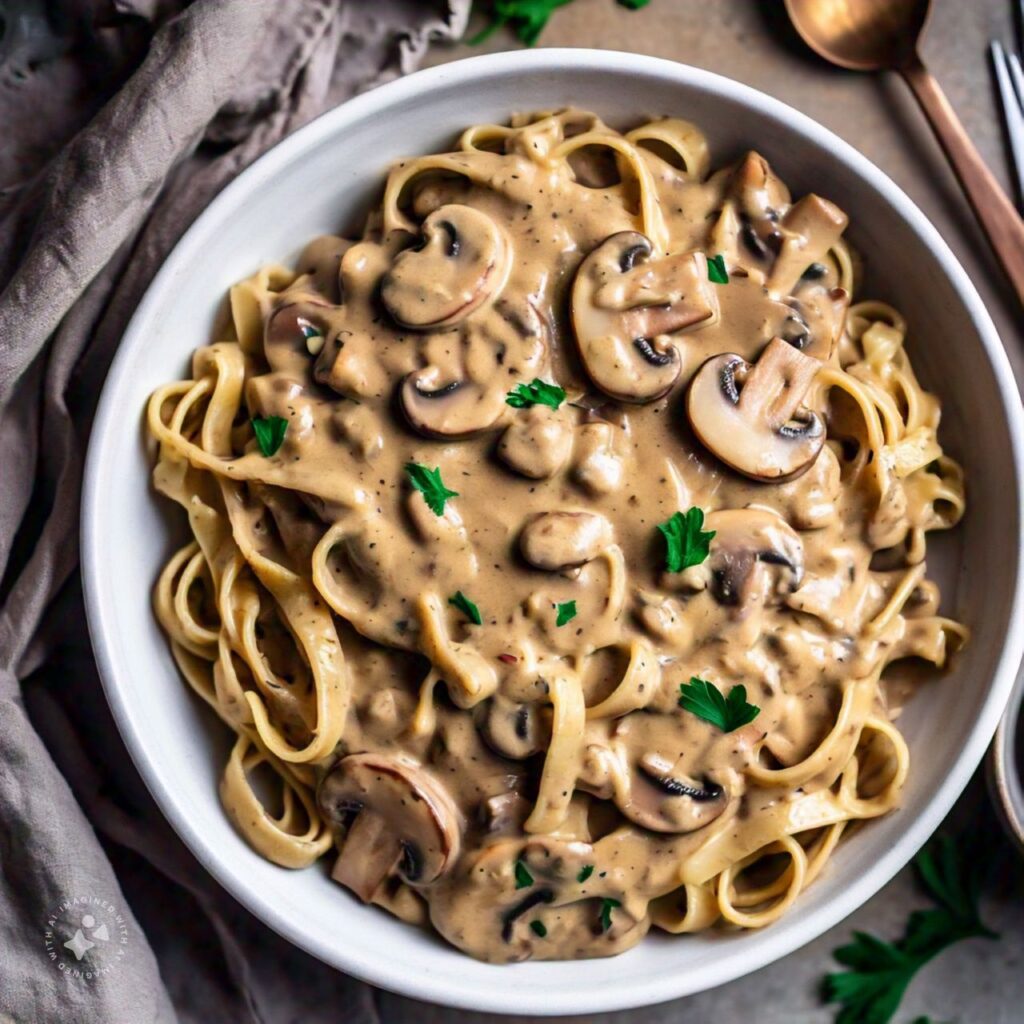
3. Hearty Vegan Mushroom Stroganoff
If you’re craving something comforting, creamy, and full of flavor, Hearty Vegan Mushroom Stroganoff is the perfect dish to try. This plant-based take on the classic stroganoff uses mushrooms, which give it a rich, meaty texture, and a creamy sauce made with cashews or plant-based cream. It’s an easy recipe, packed with savory flavors, and it’s sure to impress whether you’re cooking for yourself or for others.
Ingredients (Serves 2-3)
- Pasta: 200g of your choice (fettuccine, penne, or any pasta you like)
- For the Mushroom Stroganoff Sauce:
- 2 cups mushrooms
- 1 medium onion, finely chopped
- 2 garlic cloves, minced
- 1 tbsp olive oil
- 1/2 cup cashews (soaked for 30 minutes)
- 1 cup vegetable broth
- 1 tbsp soy sauce or tamari
- 1 tbsp Dijon mustard
- 1/2 tsp smoked paprika (for a smoky flavor)
- Salt and pepper to taste
- Toppings (Optional): Fresh parsley, chopped
Step-by-Step Recipe
Step 1: Cook the Pasta
- Heat a pot of water and add some salt to it. Wait for it to boil.
- Add 200g of pasta and cook 8-10 minutes.
- Once boiled properly, drain the pasta and keep it aside.
Step 2: Prepare the Mushroom Sauce
- In a large pan, heat 1 tbsp olive oil over medium heat. Add the chopped onion and sauté until soft and translucent.
- Add the minced garlic and cook for another 1-2 minutes until fragrant.
- Next, toss in the sliced mushrooms and cook for 7-10 minutes until the mushrooms are soft and have released their moisture.
Step 3: Make the Creamy Sauce
- In a blender, combine the soaked cashews, vegetable broth, soy sauce, Dijon mustard, smoked paprika, salt, and pepper.
- Blend until smooth and creamy.
Step 4: Combine the Pasta and Sauce
- Once the mushrooms are cooked, pour the creamy sauce over them and stir well. Let it simmer for about 5 minutes to allow the flavors to combine.
- Add your cooked pasta to the pan and toss everything together until the pasta is evenly coated with the creamy mushroom sauce.
Step 5: Serve and Garnish
- Plate the pasta and top it with some chopped fresh parsley for color and freshness.
- Serve immediately, and enjoy your creamy, hearty mushroom stroganoff!
Nutritional Facts (Per Serving)
- Vitamins & Minerals: Rich in Vitamin B, potassium, and iron
- Calories: 350-400 kcal
- Protein: 8-10g
- Carbohydrates: 40g
- Fiber: 6g
- Fats: 18g (mostly from healthy oils and cashews)
Benefits of Hearty Vegan Mushroom Stroganoff
- Dairy-Free and Vegan
- High in Fiber
- Full of Antioxidants
- Satisfying and Comforting
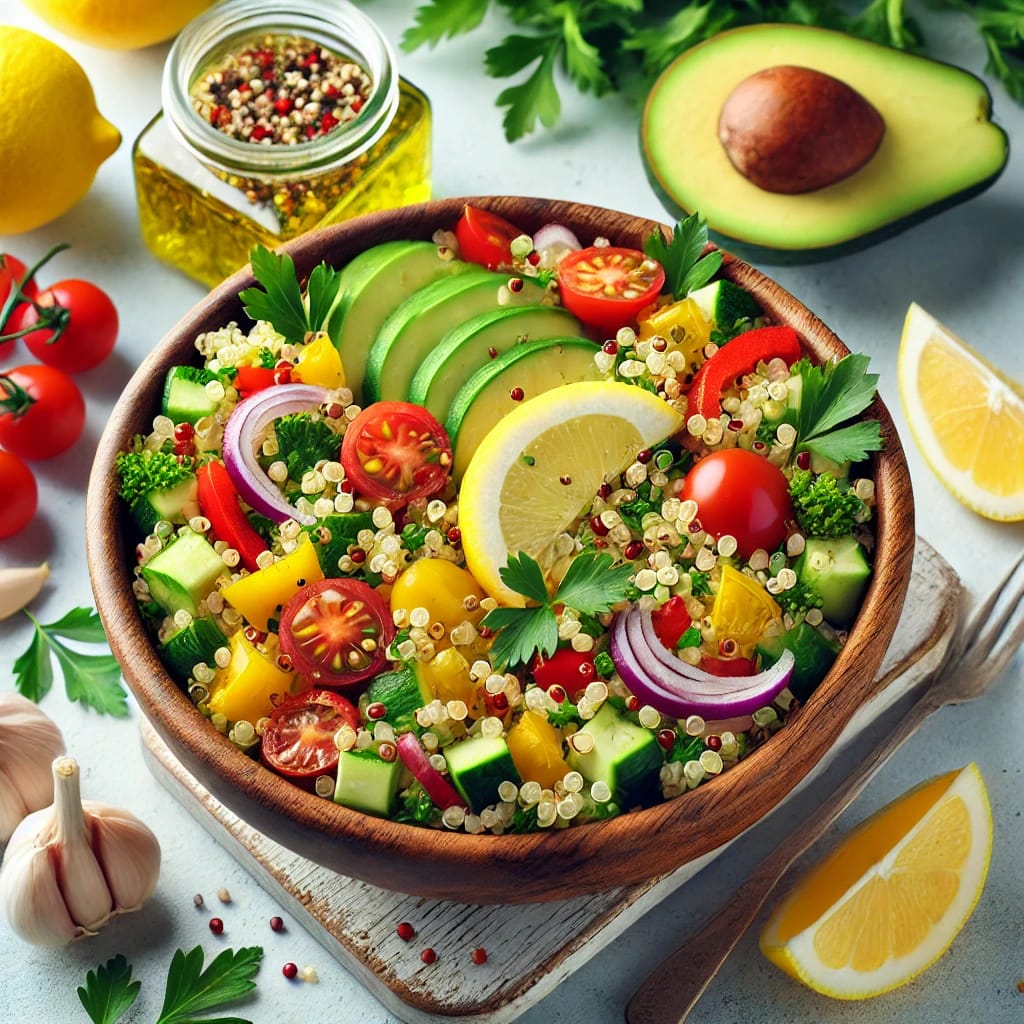
4. Zesty Lemon Garlic Quinoa Salad
Zesty Lemon Garlic Quinoa Salad is a light, refreshing, and nutritious recipe for a quick and healthy meal. It’s packed with protein-rich quinoa, fresh veggies, and a bright lemon-garlic dressing that ties everything together.
Ingredients (Serves 2-3)
- For the Salad:
- 1 cup quinoa (uncooked)
- 2 cups water or vegetable broth (to cook quinoa)
- 1 cup cherry tomatoes, halved
- 1 medium cucumber, diced
- 1/2 red onion, finely chopped
- 1/2 cup bell peppers (any color), diced
- 2-3 tbsp fresh parsley, chopped
- 1/2 avocado, diced (optional for creaminess)
- For the Dressing:
- Juice of 1 large lemon
- 2 tbsp olive oil
- 2 garlic cloves, minced
- 1/2 tsp salt
- 1/4 tsp black pepper
- 1/2 tsp dried oregano (optional)
Step-by-Step Recipe
Step 1: Cook the Quinoa
- Rinse 1 cup of quinoa under running water.
- In a pot, combine the rinsed quinoa with 2 cups of water. Bring it to a boil over medium-high heat.
- Once boiling, reduce the heat to low, cover the pot, and let it simmer for about 12-15 minutes or until the quinoa absorbs all the water.
- Fluff the quinoa with a fork and set it aside to cool.
Step 2: Prepare the Vegetables
- While the quinoa is cooling, chop your veggies:
- Halve cherry tomatoes, dice the cucumber and bell peppers, finely chop the red onion, and chop the parsley.
- If using avocado, dice it just before serving to keep it fresh.
Step 3: Make the Lemon Garlic Dressing
- In a small bowl, whisk together:
- Juice of 1 lemon, 2 tbsp olive oil, 2 minced garlic cloves, 1/2 tsp salt, 1/4 tsp black pepper, and dried oregano (if using).
- Taste the dressing and adjust the lemon, garlic, or salt to your liking.
- Tip for Beginners: Start with less salt and add more if needed—you can always add, but you can’t take it out!
Step 4: Combine Everything
- In a large mixing bowl, combine the cooled quinoa, chopped vegetables, and fresh parsley.
- Pour the lemon garlic dressing over the salad and toss everything gently until the veggies and quinoa are well coated.
Step 5: Serve and Enjoy
- Serve the salad in bowls and top with diced avocado if desired.
- This salad can be enjoyed immediately or chilled for 30 minutes for a more refreshing flavor.
Nutritional Facts (Per Serving)
- Calories: 250-300 kcal
- Protein: 8g
- Carbohydrates: 35g
- Fiber: 5g
- Fat: 10g (healthy fats from olive oil)
- Vitamins & Minerals: High in Vitamin C, iron, magnesium, and antioxidants
Benefits of Zesty Lemon Garlic Quinoa Salad
- High in Plant-Based Protein
- Great for Digestion
- Rich in Antioxidants
- Easy to Make
- Light and Refreshing
5. Savory Stuffed Bell Peppers with Rice and Beans
Savory Stuffed Bell Peppers with Rice and Beans is a colorful, hearty, and wholesome dish that’s as delightful to eat as it is to prepare. Perfectly roasted bell peppers are filled with a savory mix of rice, beans, and spices, making it a satisfying plant-based meal.

Ingredients (Serves 4)
- For the Bell Peppers:
- 4 medium bell peppers (any color: red, yellow, green, or orange)
- For the Filling:
- 1 cup cooked rice (white, brown, or quinoa for a twist)
- 1 cup cooked black beans (or kidney beans, drained and rinsed)
- 1 medium onion, finely chopped
- 2 garlic cloves, minced
- 1/2 cup corn kernels (optional, fresh or frozen)
- 1 cup diced tomatoes (fresh or canned)
- 1 tsp olive oil
- 1 tsp ground cumin
- 1/2 tsp smoked paprika
- 1/4 tsp chili powder (optional, for heat)
- Salt and pepper to taste
- 1/4 cup fresh cilantro or parsley, chopped (optional for garnish)
Step-by-Step Recipe
Step 1: Prepare the Bell Peppers
- Preheat your oven to 375°F (190°C).
- Wash the bell peppers, cut the tops off, and remove the seeds and membranes inside.
- Place the peppers upright in a baking dish. Set aside.
Step 2: Make the Filling
- Heat 1 tsp olive oil in a large pan over medium heat. Add the chopped onion and sauté until soft and translucent, about 3-4 minutes.
- Add the minced garlic and cook for another minute until fragrant.
- Stir in the diced tomatoes, black beans, corn kernels, cooked rice, and spices (cumin, smoked paprika, chili powder, salt, and pepper).
- Cook for 5-7 minutes, stirring occasionally, until the mixture is well combined and heated through.
Step 3: Stuff the Bell Peppers
- Spoon the rice and bean mixture into the prepared bell peppers, pressing gently to pack it in. Fill each pepper to the top.
- If you like, place the tops of the peppers back on for a cute presentation.
Step 4: Bake the Bell Peppers
- Pour about 1/4 cup water or vegetable broth into the bottom of the baking dish to keep the peppers moist while baking.
- Cover the dish with aluminum foil and bake for 25-30 minutes.
- Remove the foil and bake for an additional 10-15 minutes until the peppers are tender and slightly golden on top.
Step 5: Serve and Garnish
- Remove the stuffed peppers from the oven and let them cool for a few minutes.
- Garnish with chopped cilantro or parsley for freshness and color.
- Serve warm, and enjoy your colorful, delicious stuffed peppers!
Nutritional Facts (Per Serving)
- Calories: 250-300 kcal
- Protein: 10-12g
- Carbohydrates: 40g
- Fiber: 8g
- Fats: 6g
- Vitamins & Minerals: High in Vitamin C (from bell peppers), folate, potassium, and iron
Benefits of Savory Stuffed Bell Peppers
- Packed with Nutrients
- Great for Digestion
- Balanced Meal
- Beginner-Friendly
- Impressive and Colorful
6. Cucumber and Hummus Wrap
Cucumber and Hummus Wrap is a light, refreshing, and incredibly simple recipe perfect for anyone looking for a quick, healthy meal. The combination of creamy hummus, crisp cucumber, and fresh veggies wrapped in a soft tortilla makes it satisfying yet light. It requires no fancy equipment, and can be ready in just 10 minutes!
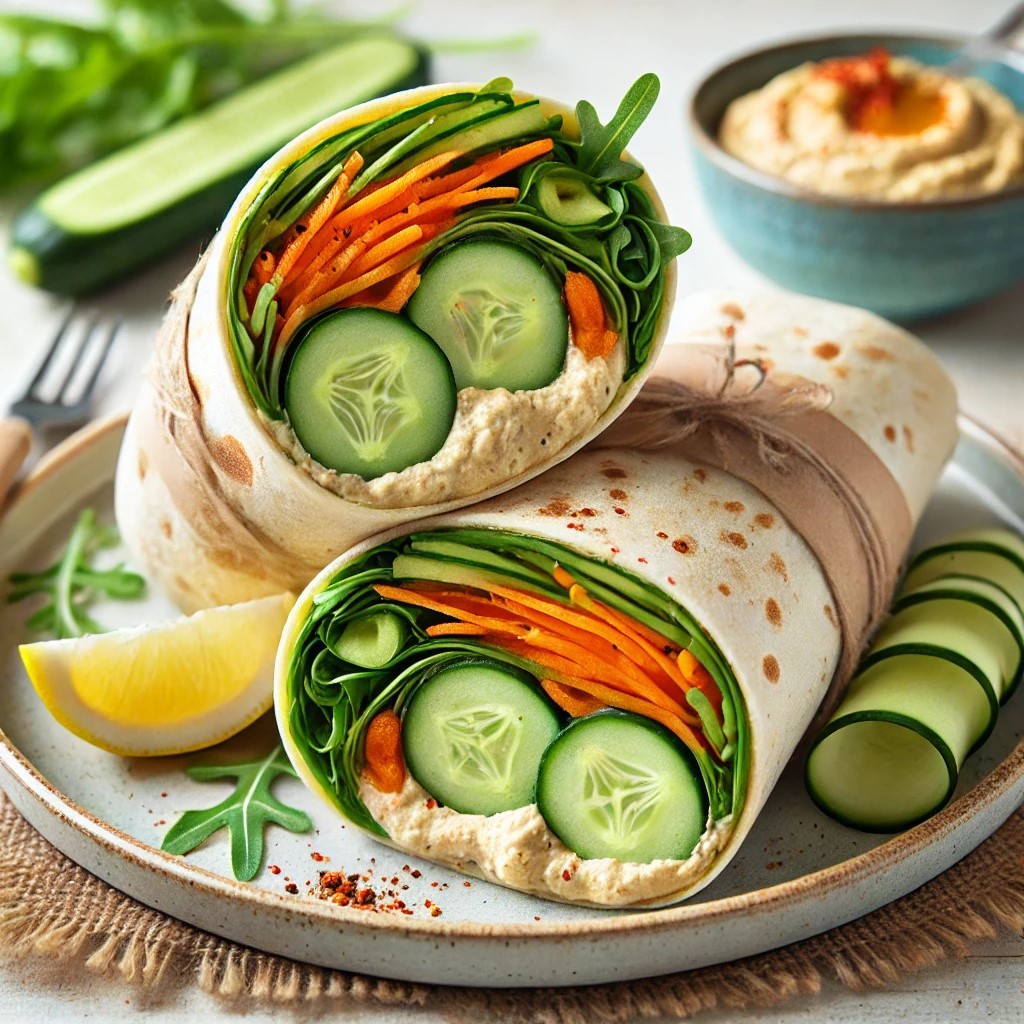
Ingredients (Makes 1 Wrap)
- 1 large tortilla or whole-grain wrap
- 3-4 tbsp hummus (store-bought or homemade)
- 1/2 cucumber, thinly sliced
- 1/4 cup shredded carrots
- 1/4 cup mixed greens (spinach, lettuce, or arugula)
- 2-3 thin slices of red bell pepper
- A pinch of salt and pepper
- Optional: A sprinkle of chili flakes or a squeeze of lemon juice for extra flavor
Step-by-Step Recipe
Step 1: Prepare Your Ingredients
- Wash all your vegetables thoroughly.
- Slice the cucumber and bell pepper thinly.
- Shred the carrots if they’re not pre-shredded.
- Keep all the ingredients within reach so assembling is quick.
Step 2: Lay Out the Wrap
- Place your tortilla or wrap on a clean plate or flat surface.
Step 3: Spread the Hummus
- Take 3-4 tablespoons of hummus and spread it evenly across the entire surface of the tortilla. This will act as the “glue” to hold your ingredients together.
Step 4: Add the Veggies
- Start layering the veggies in the center of the tortilla:
- Lay down the cucumber slices first.
- Add a handful of mixed greens, followed by the shredded carrots and bell pepper slices.
- Sprinkle a pinch of salt and pepper, and add chili flakes or a squeeze of lemon juice if you want extra flavor.
Step 5: Roll the Wrap
- Fold in the sides of the tortilla to prevent the filling from spilling out.
- Roll it tightly from the bottom to the top, tucking in the veggies as you go.
Step 6: Slice and Serve
- Use a sharp knife to slice the wrap in half diagonally.
- Serve it as is or with a side of extra hummus for dipping.
Nutritional Facts (Per Wrap)
- Calories: 200-250 kcal
- Protein: 7-9g
- Carbohydrates: 25g
- Fiber: 4g
- Fats: 8-10g (from the hummus)
- Vitamins & Minerals: High in Vitamin A, Vitamin C, and healthy fats
Benefits of the Cucumber and Hummus Wrap
- Rich in Fiber
- Low in Calories
- Hydrating and Refreshing
- Packed with Nutrients
- Quick and Easy
7. Mango avocado salad
Mango Avocado Salad is a tropical, refreshing, and creamy dish that perfectly balances sweetness, tanginess, and a hint of spice. The sweetness of ripe mangoes, the creaminess of avocados, and the crunch of fresh veggies make. It’s light, vibrant, and loaded with nutrients, making it a great appetizer, side dish, or even a meal.
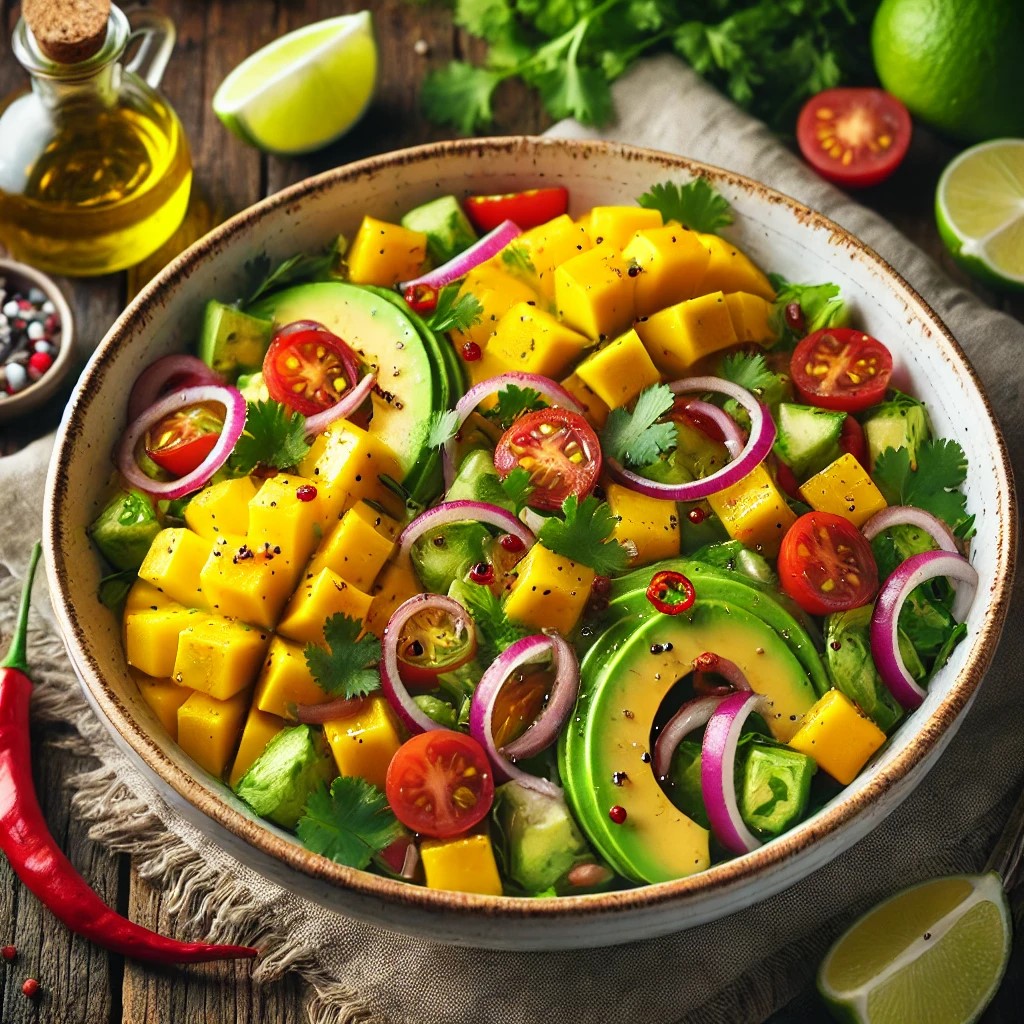
Ingredients (Serves 2-3)
- 1 large ripe mango, peeled and diced
- 1 large ripe avocado, peeled and diced
- 1 cup cherry tomatoes, halved (or 1 large tomato, diced)
- 1/4 cup red onion, finely chopped
- 1/4 cup fresh cilantro leaves, chopped
- Juice of 1 lime
- 1 tbsp olive oil
- Salt and pepper to taste
- Optional: 1/2 red chili, finely sliced, for a spicy kick
Step-by-Step Recipe
Step 1: Prepare the Mango and Avocado
- Wash the mango and avocado. Peel both fruits.
- Dice the mango into small cubes.
- Carefully cut the avocado in half, remove the pit, and scoop out the flesh with a spoon. Then dice it into similar-sized cubes.
Step 2: Chop the Veggies
- Wash the cherry tomatoes and slice them in half.
- Peel and finely chop the red onion. If the onion tastes too sharp, soak it in water for a few minutes and then drain.
- Chop the cilantro leaves.
Step 3: Make the Dressing
- In a small bowl, combine the juice of 1 lime, 1 tbsp olive oil, a pinch of salt, and some pepper. Mix well.
Step 4: Combine Everything
- In a large bowl, add the diced mango, avocado, cherry tomatoes, red onion, and chopped cilantro.
- Pour the dressing over the salad.
- Gently toss everything together using a spoon or your hands to avoid mashing the avocado.
Step 5: Serve and Enjoy
- Transfer the salad to a serving dish. Garnish with a little extra cilantro or a sprinkle of chili slices if you like spice.
- Serve immediately as a refreshing side dish or snack.
Nutritional Facts (Per Serving)
- Calories: 200-250 kcal
- Protein: 3-4g
- Carbohydrates: 20g
- Fiber: 6-8g
- Fats: 12-15g (healthy fats from avocado)
- Vitamins & Minerals: High in Vitamin A, Vitamin C, potassium, and antioxidants
Benefits of Mango Avocado Salad
- Rich in Antioxidants
- Good for Your Heart
- Great for Digestion
- Hydrating and Energizing
- Quick and Simple
So, this was all about the 7 healthy vegan breakfast recipes. Hope you like these and will positive feedback.
You can also read about Smart budgeting tips for 2025 by clicking here.
In the process of generating extra income, you can also invest $100 and see the power of investment.
once you are Debt-free or have no loans, your mind will feel its pleasure. you may like to read Mental health coverage.
You may like to read about the most trending topics GUT & Second Mind.
You can also share your own recipes/topics in the comments or write us @hevensh05@gmail.com and we would be really glad to share the best recipes on our website.
